Welcome to the world of homebrewing! Whether you’re a beer enthusiast curious about crafting your own brew or a seasoned brewer looking to refine your skills, this fast track guide will take you through the process with ease and confidence. I’ve been homebrewing for over 15 years now, and it’s a rewarding experience that has transformed my approach to beer. In this article, I’ll share my journey, experiences, and insights to help you create your own delicious beers at home.
Getting Started – The Basics of Homebrewing
Why Homebrew?
I remember my first time homebrewing. It was a bit intimidating, but the result was a smooth ale that exceeded my expectations. Homebrewing offers a unique opportunity to experiment with flavors, ingredients, and brewing techniques. It’s a skill that combines chemistry, art, and passion, making it both a rewarding and educational process. Plus, it’s more cost-effective than buying premium craft beers, and the satisfaction of creating something from scratch is unparalleled.
Ingredients – The Heart of Homebrewing
Before you start brewing, it’s essential to gather the right ingredients and equipment. The quality of your ingredients has a direct impact on the flavor and character of your beer, so sourcing the best materials is key. Here’s what you’ll need:
Core Ingredients
Malt: The foundation of your beer. Choose from different varieties like Pale Ale malt, Two-row, or Wheat malt, depending on the style you’re aiming for. Each brings its own unique flavor and color profile. You can also make the brewing process less complicated by using malt extract.
Hops: These add bitterness, flavor, and aroma to balance the sweetness of the malt. Popular hop varieties include Chinook (spicy and piney), Centennial (citrusy and floral), and Amarillo (bright and tropical).
Yeast: The powerhouse behind fermentation. The type of yeast you use will shape your beer’s flavor, aroma, and mouthfeel. Consider US-05 for clean, crisp ales or English Ale yeast for richer, malt-forward brews.
Water: Often overlooked but crucial. Water makes up over 90% of your beer, so its quality matters. Use filtered water to avoid off-flavors caused by chlorine or other impurities.
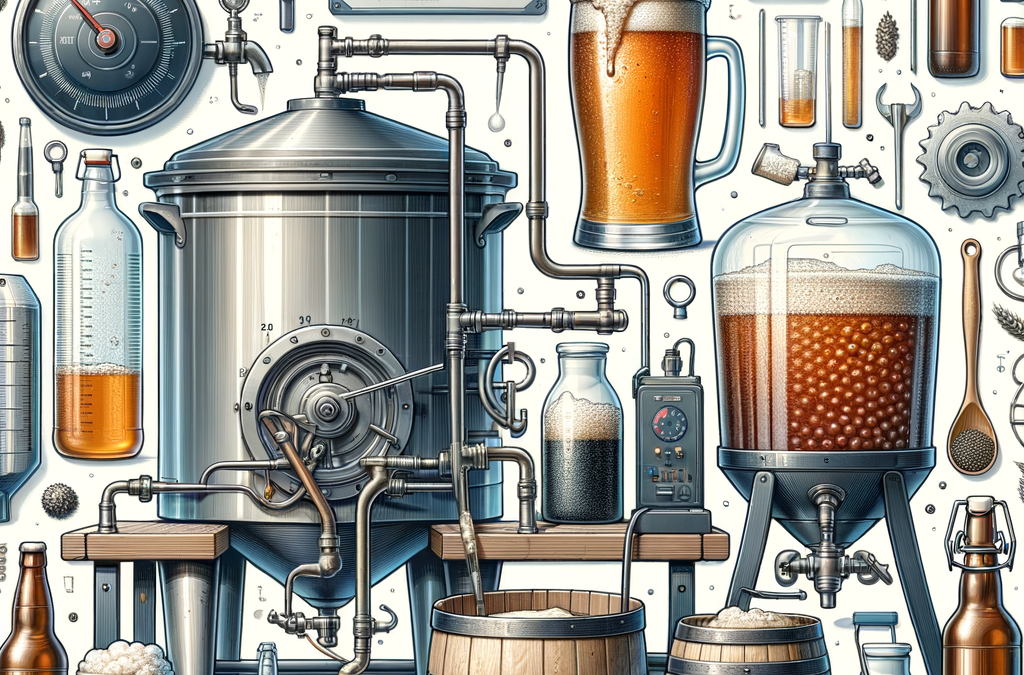
Essential Brewing Equipment
- Brew Kettle: For boiling your wort (the unfermented beer).
- Thermometer: To monitor your mash and boil temperatures.
- Sanitizing Solution: Cleanliness is critical—sanitize everything that touches your beer.
- Fermentation Vessel: Where the magic of fermentation happens. Options include plastic buckets, glass carboys, or stainless steel fermenters.
By starting with top-notch ingredients and reliable equipment, you’ll set yourself up for brewing success and create a beer you’ll be proud to share!

The Brewing Process: Step-by-Step
Step 1: Sanitation is Everything
Before doing anything else, sanitize everything—and I mean everything. Cleanliness is crucial to avoid contamination that could ruin your batch. I learned this the hard way when I had to dump an entire batch due to a small oversight. Trust me, the extra effort is worth it.
Step 2: Mashing – The Sugar Conversion Process
Mashing converts the starches in the malt into fermentable sugars. Temperature control is key. I use a mash tun preheated with hot water to keep the mash in the optimal range (148-158°F) for saccharification—the process that makes those sugars available for fermentation.
Tip: If you’re looking for a simpler option, consider using malt extract (liquid or dry). It saves time and skips the mashing process, allowing you to jump straight to boiling. This is a great choice for beginners or when you want a quicker brew day.
Step 3: Boiling and Adding Hops
After mashing (or if you’re using malt extract, after dissolving it in water), I transfer the wort to the brew kettle for boiling. This is where hops work their magic, adding bitterness, flavor, and aroma. I’ve experimented with different hop schedules, but a 60-minute boil for my IPA. Early hop additions bring bitterness, while late additions enhance aroma. For an example of a hop schedule and grams per addition here a West Coast IPA recipe I like to make.
Step 4: Fermentation – The Heart of Brewing
Once the wort cools, it’s time for fermentation. I transfer it into a fermentation vessel and pitch the yeast. Keeping the temperature steady (between 68-72°F) is critical for consistent results. Even slight temperature fluctuations can impact the flavor and aroma of the finished beer.
Step 5: Conditioning – Secondary Fermentation (Optional)
After fermentation, the beer can be conditioned to develop more complex flavors. Transferring the beer to a secondary vessel (for what’s known as secondary fermentation) is optional. While some brewers use this step to clarify the beer or add extra ingredients like fruit or spices, you can skip it and go straight to bottling or kegging if preferred.
Step 6: Bottling and Carbonation – Kegging as an Option
Once the beer is conditioned (or after primary fermentation, if you skipped the secondary), I bottle condition it. This involves adding priming sugar to each bottle before filling, which allows the beer to naturally carbonate over a few weeks. Kegging is another option if you prefer quicker carbonation and more precise control, but I enjoy the simplicity and tradition of bottle conditioning.
Common Mistakes to Avoid
1. Ignoring Sanitation: Poor sanitation is one of the biggest causes of failed batches. Always clean and sanitize all your equipment thoroughly before use to prevent contamination.
2. Overcomplicating Recipes: When starting out, stick to simple, tried-and-true recipes. Once you’ve mastered the basics, feel free to get creative and experiment with new ingredients and techniques.
3. Using the Wrong Water: Water quality matters. Use filtered or purified water to avoid unwanted minerals that can affect the flavor and clarity of your beer.
4. Unmonitored Fermentation Temperatures: Fermentation temperature plays a crucial role in the final taste. Maintain a consistent temperature to avoid off-flavors or stuck fermentation.
Tips for Success
1. Plan Ahead: Read the recipe from start to finish and gather all your ingredients and equipment before you begin brewing. Preparation makes the process smoother and more enjoyable.
2. Control Temperature: Use reliable thermometers and maintain recommended temperatures during mashing, boiling, and fermentation. This ensures your beer develops the intended flavors.
3. Start Small: Begin with small batches to minimize waste while you learn and experiment. Adjust recipes based on your results, then scale up once you’re confident in your process.
Final Thoughts
Homebrewing is an exciting and rewarding journey. It requires patience, dedication, and a willingness to learn from every batch. By avoiding common pitfalls and following the tips in this guide, you’ll be well on your way to crafting delicious, high-quality beer. Enjoy the process, and remember—each brew brings you one step closer to becoming a master brewer!
© 2025 by brewandbeyond.com. All rights reserved. No part of this document may be reproduced or transmitted in any form or by any means, electronic, mechanical, photocopying, recording, or otherwise, without prior written permission of brewandbeyond.com.
Author: Dean
The Brewer's Corner - The place where I answer your homebrew questions (Beer, cider, wine, mead.....). Nothing is too crazy. You can reach me at TheBrewersCorner@proton.me