A Step-by-Step Guide
When I first started homebrewing, the process seemed daunting. But after brewing my first batch with a homebrew kit, I realized this was truly the best way to get started. With a kit, you can follow the instructions step by step and craft a delicious beer right away, since all ingredients are perfectly measured for a proven recipe. If you’ve ever wondered how to homebrew beer with a kit, you’re in the right place. In this guide, I’ll walk you through everything you need to know, from choosing the right kit to bottling your liquid masterpiece.
(Note: This is a quick run down and not all-inclusive)
Why Start Homebrewing?
For me, homebrewing is about creativity and control. I get to experiment with flavors, ingredients, and brewing techniques to craft a beer that’s truly my own. Plus, it’s a cost-effective way to enjoy high-quality craft beer without paying premium prices at the store. Finally, there’s something deeply satisfying about cracking open a bottle of beer that I made myself.
Choosing the Right Homebrew Kit
The first step in brewing beer at home is selecting the right kit. There are plenty of options out there, but I’ve found that beginner kits generally fall into these categories:
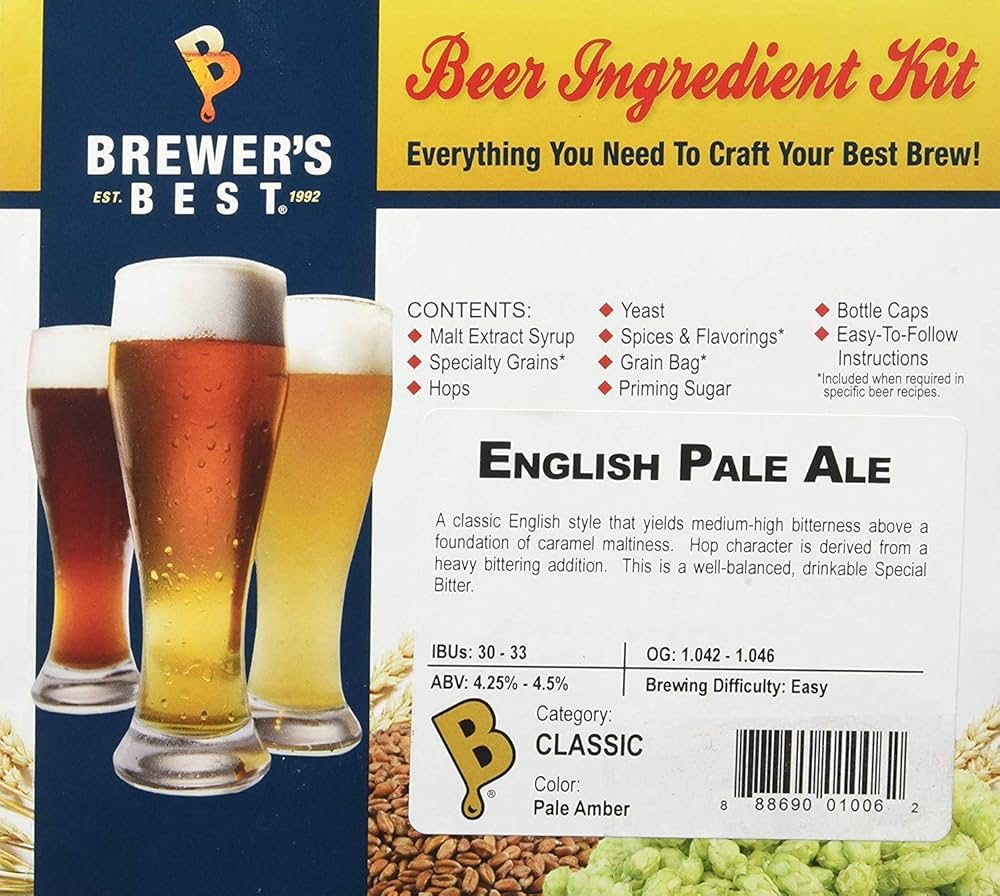
Extract Beer Kits
These kits come with malt extract, making the brewing process faster and easier. They’re perfect for beginners since they eliminate the need for complex mashing processes. Most starter kits include:
- Malt extract (liquid or dry)
- Hops
- Yeast
- Bottle caps
- Steeping grains
- Instructions
All-Grain Kits
If you prefer complete control over flavors, an all-grain kit is the way to go. However, this method requires more time and additional equipment, such as a grain mill and a mash tun. I don’t recommend starting with an all-grain kit if you are new to brewing. If you want to be more adventurous you can go the all-grain route.
Essential Homebrewing Equipment
Besides the ingredients that come in the kit, I also need some basic equipment to make the process smooth. Here’s what I always use:
- Fermenter: A 5-gallon glass carboy or plastic bucket with an airlock.
- Brew Kettle: At least 3 gallons in volume, though bigger is better.
- Siphon & Tubing: For transferring beer from one vessel to another.
- Sanitizer: (e.g., Star San) to keep everything clean.
- Hydrometer: To measure the alcohol content.
- Thermometer: You want to check your water temperature.
- Bottling Bucket: For mixing the priming sugar and beer, and then transferring into the bottles.
- Bottles and Caps: I prefer brown glass bottles to prevent light exposure.
Step-by-Step Guide to Homebrewing with a Kit
Now that I have my kit and equipment ready, it’s time to start brewing. Here’s how I do it:
Step 1: Sanitize Everything
Sanitization is the most crucial step in homebrewing. Even a small amount of bacteria can ruin an entire batch. I use a no-rinse sanitizer and follow these steps:
- Get a clean spray bottle and measure the right proportion of sanitizer and water.
- Soak or spray all the equipment with the sanitizer for at least 5 minutes.
- The equipment can be wet when you use it. There’s no need to rinse with Star San.
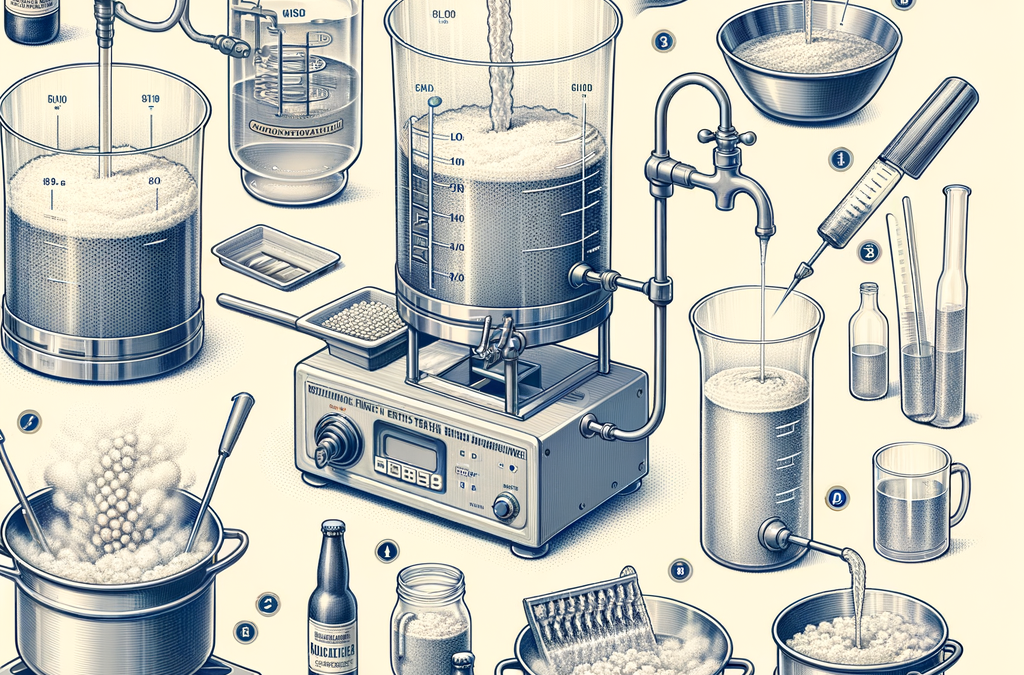
Step 2: Boil the Wort
The wort is the base liquid that will become beer. To make it:
- I heat 2-3 gallons of water in my brew kettle.
- Slowly add the malt extract, stirring constantly to prevent scorching.
- Bring the mixture to a rolling boil and add hops at the designated times.
- Boil for about 60 minutes.
Step 3: Cool the Wort
After boiling, the wort needs to cool quickly. I use an ice bath in my sink or a wort chiller to bring it down to around 70°F (21°C) as fast as possible.
Step 4: Transfer to the Fermenter
Once cooled, I carefully transfer the wort into my sanitized fermenter, leaving behind any sediment in the kettle. Then, I add enough cold water to reach the final volume (usually 5 gallons).
Step 5: Pitch the Yeast
Yeast is what turns my wort into beer. If you can shake the fermenter without spilling your wort (The goal is to add more oxygen to the wort). Then I sprinkle the dry yeast directly into the fermenter. Then, I seal the fermenter and attach the airlock to release CO₂ while keeping contaminants out.
Step 6: Fermentation
Now comes the waiting game. Fermentation typically takes 1-2 weeks. I store my fermenter in a cool, dark place at around 65-70°F (18-21°C). After a few days, I see bubbles in the airlock, indicating active fermentation.
Step 7: Bottling the Beer
Once fermentation is complete, I prepare my bottles:
- Sanitize bottles and caps.
- Siphon the beer from the fermenter into the bottling bucket (Try not to splash the beer) with the priming sugar (to carbonate the beer).
- Use the bottle filler attached to the bottling bucket to transfer the beer into bottles, leaving some headspace.
- Seal with caps and store for another 2 weeks.
Step 8: Enjoying My Homebrew
After two weeks of bottle conditioning, hopefully, the beer is ready. Open one test beer and see if all is well. If the beer is not carbonated enough to your liking leave the beer to sit for another week to carbonate more.
With enough patience, the beer should be ready to go. There’s nothing quite like enjoying a beer that I brewed myself.
Common Homebrewing Mistakes and How to Avoid Them
- Skipping sanitation: Always sanitize everything to avoid infection.
- Rushing fermentation: Give the yeast enough time to do its job. Waiting at least two weeks is a good rule of thumb.
- Not controlling temperature: Keep the fermenter in the ideal brewing range.
- Over-carbonating: Use the correct amount of priming sugar (read those instructions)
Final Thoughts
Homebrewing with a kit is one of the most enjoyable and rewarding hobbies I’ve picked up. It allows me to craft my own beer, experiment with styles, and develop a deeper appreciation for the brewing process. If you’re on the fence, I highly recommend giving it a try—after all, nothing beats the taste of beer brewed with your own hands.
© 2023 by brewandbeyond.com. All rights reserved. No part of this document may be reproduced or transmitted in any form or by any means, electronic, mechanical, photocopying, recording, or otherwise, without prior written permission of brewandbeyond.com.
Author: Dean
The Brewer's Corner - The place where I answer your homebrew questions (Beer, cider, wine, mead.....). Nothing is too crazy. You can reach me at TheBrewersCorner@proton.me